I once pulled a drawer so hard the front panel separated from the box. The handle came off in my hand. The drawer stayed stuck. I stood in my kitchen holding a wooden rectangle, staring at the cavity where my utensils used to live. The drawer was still in there. Mocking me. Unreachable. Full of spoons.
I had to reach in from above. Past the gap where the front used to be. Past the jagged glue remnants. I cut my finger on a staple. Not badly. Enough to bleed on a ladle. The ladle survived. My dignity did not.
That was the last time I yanked. Now I investigate. I diagnose. I treat drawers like patients, not opponents. The spoons deserve better.
What I Was Working With
My kitchen has four drawers. All lower cabinets. Two are standard side-mount metal slides. One is a center-mount wood slide. The fourth is a mystery. I think it is a side-mount but the previous owner modified it. There are extra screws. Holes that do not align. It is the drawer equivalent of a Frankenstein monster.
The stuck drawer was the center-mount. Wood on wood. An old system. Simple. No ball bearings. No metal tracks. Just a wooden rail on the bottom of the drawer, riding in a wooden groove in the cabinet. The groove had worn. The rail had swelled. The marriage was failing.
I also have a bathroom drawer. Small. Metal slides. It sticks seasonally. Humidity swells the wood slightly. The metal does not care. The wood does. The drawer protests. I have learned to listen.
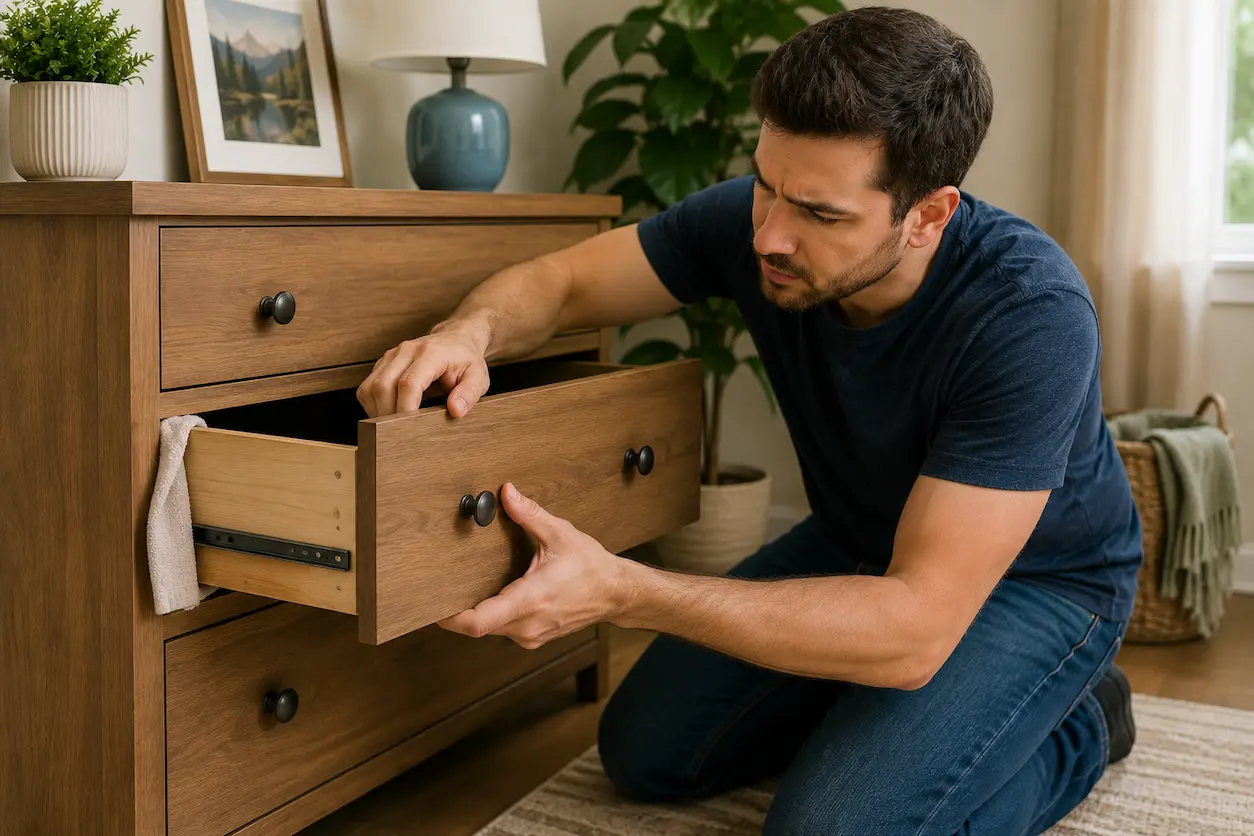
Step 1: Look Before You Pull
This sounds obvious. It is not. The urge to pull is primal. Something is stuck. You want it unstuck. Your hand reaches. Your arm tenses. Stop.
Look at the drawer. Is it crooked? One side higher than the other? That means a slide is detached or a wheel is broken. Pulling a crooked drawer bends the slides. Bends the box. Creates a problem you did not have.
Is there an obstruction? Something fell behind? A utensil wedged vertically? A child hid a toy? I found a wooden spoon jammed sideways in my utensil drawer once. It had fallen through the gap at the back. Wedged between the drawer box and the cabinet wall. The drawer opened two inches, then stopped. I could not see the spoon. I could feel resistance. I almost pulled. Then I looked with a flashlight. The spoon was obvious. Once seen, easily removed.
Basic repair starts with observation, not action. I learned this after the front-panel incident. I learn slowly. But I learn.
Step 2: Empty the Drawer (If You Can)
Weight makes sticking worse. A full drawer presses down on the slides. Increases friction. Binds the mechanism. If the drawer opens even partially, remove everything you can reach. Lighten the load. Reduce the pressure.
I keep a small bin nearby for this purpose. Transfer the contents. Set them aside. The drawer is now just wood and hardware. Easier to diagnose. Easier to move.
If the drawer will not open at all, you cannot empty it. Skip this step. But know that the weight inside is working against you. You will need to be more gentle, not more forceful. Counterintuitive. Necessary.
Step 3: Identify the Slide Type
Side-mount slides have two metal tracks. One on each side of the drawer box. One on each inner wall of the cabinet. Ball bearings or rollers allow movement. These fail when: bearings wear out, tracks bend, screws loosen, or the cabinet warps.
Center-mount slides have one track or groove on the bottom center of the drawer. A corresponding rail in the cabinet center. These fail when: the rail wears, the groove swells with humidity, or the drawer bottom sags and drags.
Under-mount slides are hidden beneath the drawer. Modern. Smooth. These fail when: the mounting clips break, the drawer box separates from the bottom panel, or the mechanism seizes with debris.
I have all three types in my home. The kitchen has side-mount and center-mount. The bathroom has under-mount. Each requires a different approach. Each has failed me differently.
Hardware fails in patterns. The drawer slides are just another version of the door handle problem. Something loosens. Something swells. Something wears. Find the pattern. Fix the pattern.
Step 4: The Actual Fix, by Type
Side-Mount: The Wiggle Method
Side-mount slides need alignment. If the drawer is crooked, one slide is higher than the other. The drawer binds. The fix: lift the low side while pulling gently. Support the weight. Reduce the angle. The slide releases. The drawer moves.
If the slide is detached, you will see it. A screw missing. A bracket dangling. Do not pull. Push the drawer closed. Access the slide from the front gap. Reattach with a screw. Then test. The drawer should glide.
If the bearings are worn, the slide feels gritty. Not smooth. Like sand in the mechanism. You can lubricate temporarily. But worn bearings need replacement. The slide is a unit. It unscrews. A new one costs eight to fifteen dollars. Installation takes twenty minutes. I have replaced two. Both times, the new slide felt like a luxury. Smooth. Silent. Worth the cost.
Center-Mount: The Humidity Dance
Wood swells. Wood shrinks. Center-mount slides are wood on wood or wood on plastic. Humidity changes the fit. My bathroom drawer sticks in summer. Opens freely in winter.
The fix: wax. Paraffin wax. Or a white candle. Rub it on the rail. Rub it in the groove. The wax lubricates without attracting dust. Unlike oil. Oil is a dust magnet. Oil plus dust equals paste. Paste equals worse sticking.
I rub wax on my center-mount rails every spring. Before humidity hits. Prevention. The drawer glides all summer. In fall, when humidity drops, the wax is still there. Still working. I reapply annually.
If the rail is worn — a groove carved by years of sliding — the wax helps but does not cure. The rail needs replacement. Or shimming. A thin strip of wood glued to the rail, building it back to original height. I have not done this. I would call a carpenter. Woodworking is not my skill. I know my limits.
Under-Mount: The Hidden Enemy
Under-mount slides are invisible. Which means the problem is invisible. The drawer sticks. You look at the sides. Nothing. The mechanism is underneath.
Remove the drawer completely. Most under-mount slides have a release lever. Pull the drawer fully open. Look underneath. Find the lever. Push or pull it. The drawer lifts off. Set it aside.
Now you see the slides. Check for debris. Dust. Dried spills. A dropped toothpick. Clean with a dry cloth. Lubricate with dry silicone spray. Not WD-40. WD-40 is wet. It attracts dust. Dry silicone is actually dry. It lubricates without residue.
Check the mounting clips. Plastic brackets that attach the drawer to the slide mechanism. They crack. They fatigue. Replacement clips cost three dollars. Installation requires aligning the drawer perfectly. Frustrating. Possible. I have done it once. Took forty minutes. Cursed for thirty of them.
Drawer organization reduces weight and strain. A heavy drawer fails faster. A light drawer lasts longer. Physics.
💡 What I Learned the Hard Way
I once lubricated a side-mount slide with cooking oil. Olive oil. It was nearby. It was oil. I thought oil was oil. The drawer moved smoothly for three days. Then it stopped completely. The oil had attracted dust, hair, and crumbs. Formed a paste. A sticky, black, grinding paste that seized the ball bearings. I had to remove the slide entirely. Soak it in degreaser. Scrub with a toothbrush. Reinstall. The twenty-second oil application cost me two hours of recovery. The lesson: use the right lubricant. Dry silicone for metal. Wax for wood. Cooking oil is for cooking. Not for drawers. Not for anything mechanical. Keep it in the kitchen. Away from tools.
When to Stop and Replace
| Problem | Can You Fix It? | How |
|---|---|---|
| Loose or missing screw | Yes | Reattach or replace screw |
| Drawer slightly crooked | Yes | Lift low side while pulling, adjust slide height |
| Wood-on-wood sticking | Yes | Wax or paraffin lubrication |
| Worn ball bearings | Replace slide | New side-mount slide, $8–$15 |
| Cracked under-mount clip | Replace clip | New plastic bracket, alignment required |
| Drawer box separating from bottom | Maybe | Glue and clamp, or replace drawer |
| Cabinet itself warped or damaged | No | Call carpenter or replace cabinet |
⚠️ When This Won’t Work
If the drawer is antique, with dovetail joints and hand-cut slides, do not force anything. The wood is old. Brittle. A yank can split a joint that has held for a century. Call a furniture restorer. Also, if the drawer contains something heavy and sharp — knives, tools, hardware — be careful reaching in from above if the front panel fails. I cut my finger on a staple. You could cut worse. Finally, if the drawer is part of a built-in unit — a window seat, a closet system, a bathroom vanity integrated with plumbing — the sticking may be structural. The cabinet has shifted. The house has settled. The drawer is a symptom, not the disease. Fixing the drawer does not fix the settlement. You need a contractor, not wax.
Frequently Asked Questions
Why does my drawer only stick in summer?
Humidity. Wood absorbs moisture. Swells. The clearance between drawer and cabinet shrinks. The slide binds. The fix is prevention: wax before summer. Or a dehumidifier. Or acceptance. Some drawers are seasonal. Like allergies. You manage them. You do not cure them.
Can I use WD-40 on drawer slides?
You can. But it is a solvent, not a lubricant. It cleans. It displaces water. It does not last. It attracts dust. It becomes gummy. Use dry silicone spray for metal slides. Use wax for wood. Use nothing for under-mount mechanisms with plastic parts. WD-40 can degrade some plastics. Read the label. Or just avoid it. I avoid it.
How do I know if the slide needs replacement?
Wiggle the drawer side to side. If the slide moves independently of the cabinet wall, the mounting screws are loose or the slide is bent. Tighten first. If it still wiggles, replace. Also, if the drawer glides smoothly when empty but sticks when loaded, the bearings are worn. They cannot handle weight. Replacement is the only fix.
What if the drawer front is loose but the box is fine?
The front is attached with screws or dowels. Check from inside the drawer. Tighten screws. If dowels are loose, remove them. Fill holes with wood glue and toothpicks. Re-drill. Re-attach. This is the same method as fixing stripped screw holes in doors. The toothpick trick works everywhere.
Should I just buy a new drawer?
Maybe. If the box is cracked, the bottom is sagging, and the slides are worn, replacement is cheaper than repair. A new drawer box costs twenty to forty dollars. You keep the front panel. Attach it to the new box. Install new slides. Takes an hour. Feels like a new cabinet. I have done this once. The satisfaction was disproportionate to the task.
Closing Thought
My kitchen drawers all work now. The Frankenstein drawer still has extra holes. But it glides. The center-mount has fresh wax. The side-mounts have new bearings. The under-mount in the bathroom has new clips.
I no longer yank. I observe. I diagnose. I fix with patience and the right lubricant.
The spoons are accessible. The ladles are unbloodied. My dignity has partially recovered.
Drawers are simple mechanisms. Wood. Metal. Physics. They fail predictably. They fix predictably. The only variable is you. Your patience. Your observation. Your willingness to stop pulling and start understanding.
Look at your stuck drawer. Do not touch it yet. Just look. What do you see?
That is where the fix begins. Not with force. With seeing.
Sources and References
- U.S. Consumer Product Safety Commission (CPSC) — Home safety guidelines, including furniture stability and proper maintenance of household fixtures and hardware.
- Wood Magazine — Guide to wood lubricants and protectants, including proper use of wax, paraffin, and dry silicone for furniture and cabinetry maintenance.
- Penn State Extension — General home repair and maintenance guidance, including hardware installation and troubleshooting common household fixture issues.

Hamza Farooq is a home improvement and organization writer who shares practical advice on cleaning, simple DIY fixes, and smart home organization. He focuses on creating easy-to-follow guides that help readers solve everyday household problems with realistic, affordable solutions. His goal is to make home maintenance simpler, more efficient, and accessible for anyone looking to improve their living space.