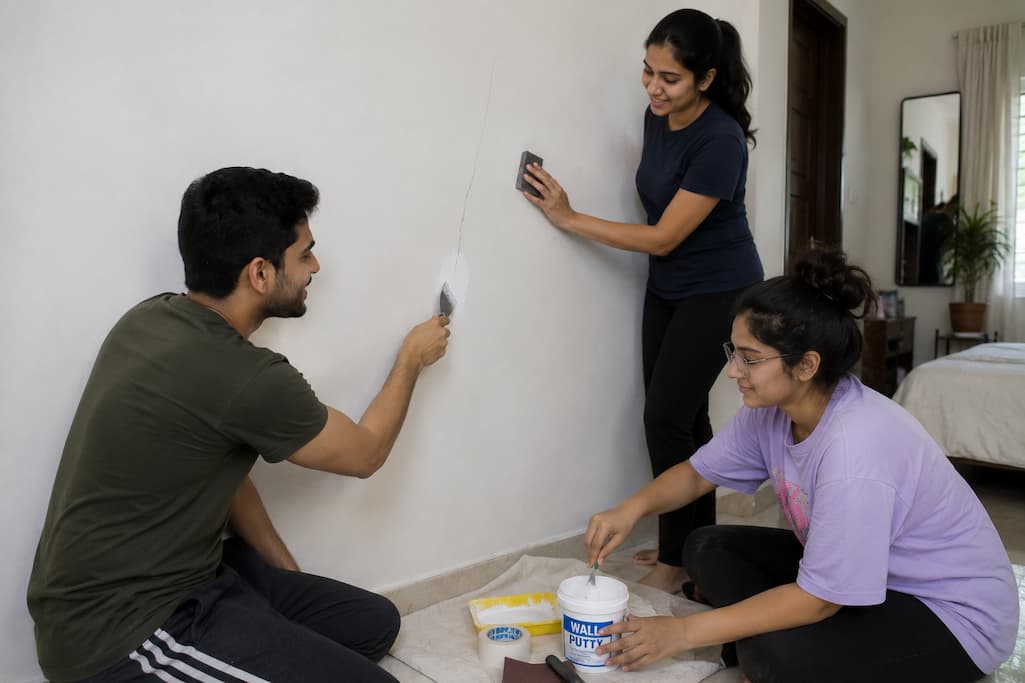
My landlord emailed on a Tuesday. “Routine inspection next Monday.” I stared at the crack above my bedroom door. It had been there for eight months. I named it Gerald. Gerald was now a liability.
Not a big crack. Hairline. Maybe three inches. But it was growing. I had watched it grow. Like a hobby.
I had two options. Ignore it and lose part of my security deposit. Or fix it myself and probably make it worse. I chose option two because I am cheap and anxious in equal measure.
What I Was Working With
The crack was in drywall. Not plaster. This matters. Plaster cracks like a riverbed. Drywall cracks like a fault line. Thin. Straight. Angry.
My wall was painted off-white. The kind of off-white that looks beige in sunlight and gray at night. I did not know the paint name. The previous tenant did not leave it. The hardware store has four hundred off-whites. I was doomed.
My toolkit: a butter knife, a sponge, a rag, and a paperclip I straightened to dig out loose bits. No putty knife. No sanding block. No drop cloth. Just determination and poor planning.
What I Almost Did Wrong
I went to the hardware store. Stood in the spackle aisle for twenty minutes. There were options. Lightweight spackle. All-purpose joint compound. Vinyl patching. Fast-drying. Paintable caulk. Caulk in a tube.
I almost bought caulk. It said “crack filler” on the label. But caulk is for gaps that move. Around windows. Baseboards. A wall crack does not move. Caulk would have dried rubbery, shrunk, and looked like a worm buried in my wall. I put it back.
I bought lightweight spackle. The smallest tub. Two dollars. It said “interior use” and “paintable.” That was my entire criteria.
I should have read a basic repair guide first. Would have saved me twenty minutes of staring at tubes like they were written in another language.
The Actual Repair
Step one: clean the crack. I used the straightened paperclip to scrape out any loose drywall or paint flakes. Gentle. The crack was shallow. If yours is deep enough to fit a pencil tip, you need joint compound, not spackle. Mine was not. Gerald was vain, not deep.
I wiped the area with a damp rag. Let it dry. Five minutes. I am impatient. I did not wait ten. It was fine.
Step two: apply spackle. I used the butter knife. Flat side. Scooped a tiny amount. Smaller than I thought I needed. Pressed it into the crack. Scraped the excess flat. The goal is not to build a mountain. The goal is to fill a valley. I repeated this twice because the first layer shrank slightly as it dried.
Step three: wait. The tub said “paintable in thirty minutes.” I gave it an hour. I ate lunch. Stared at the wall. It looked worse before it looked better. White blob on off-white wall. Obvious. Embarrassing.
Step four: sand. I did not have sandpaper. I used a dry sponge. A slightly rough one. The kind for scrubbing pots. I sanded the edges in a circular motion. Not back and forth. Circles blend better. The spackle became flush with the wall. Invisible to the touch. Still visible to the eye because of the color mismatch.
This was easier than fixing the loose door handle in the bathroom. That required screws and patience. This just required waiting.
The Paint Problem
I did not have the original paint. So I cheated.
I took a photo of the wall in natural light. Went to the hardware store. Held the phone up to paint chips like a lunatic. Got close. Not perfect. Close. Bought a sample pot. Three dollars.
I painted the patch with a foam brush. Feathered the edges. One coat. Let it dry. It was slightly lighter than the surrounding wall. Because the surrounding wall was dirty. Eight months of dust and hand grease and life.
The fix: I wiped the whole wall section with a damp sponge. Not the patch. The area around it. The dirt came off. The colors matched. The wall was cleaner. The crack was gone.
Total spent: five dollars. Total time: two hours, mostly waiting. Gerald was dead.
💡 What I Learned the Hard Way
I tried to speed-dry the spackle with a hair dryer. Set on high. Melted the surface slightly. Created a weird glossy bubble that would not sand flat. I had to scrape it off and start over. Spackle dries when it dries. Hair dryers are for hair. Not walls. The second attempt I just waited. It worked. Patience is a tool I do not own but should rent more often.
What You Actually Need vs. What I Used
| Proper Tool | What I Actually Used | Did It Work? |
|---|---|---|
| Putty knife | Butter knife | Yes, but not as smooth |
| Sanding block (120 grit) | Dry scrub sponge | Surprisingly yes |
| Paint brush | Foam brush | Yes, for a small patch |
| Drop cloth | Old newspaper | Yes, barely needed anyway |
| Crack-cleaning tool | Straightened paperclip | Perfectly |
You do not need a workshop. You need five dollars and a willingness to look silly in the paint aisle.
⚠️ When This Won’t Work
If the crack is wider than a pencil eraser, this method is too small. You need joint compound and mesh tape. If the crack is diagonal and runs from the corner of a door frame to the ceiling, it might be structural. Spackle will not fix foundation settling. If the wall is plaster and the crack is crumbling, you need a plaster repair specialist, not a two-dollar tub. Also, if your home was built before 1978, the paint might contain lead. Do not sand it. Do not scrape it. Call a professional. Lead dust is not a DIY problem. It is a medical problem.
Frequently Asked Questions
Can I use toothpaste instead of spackle?
I have seen this online. No. Toothpaste shrinks, cracks, and attracts insects. It is not paintable in any meaningful way. It is a prank, not a repair. Buy the two-dollar spackle. Your landlord will thank you. Your wall will thank you.
How do I match paint if I have no idea what color it is?
Take a photo in natural light. Compare to chips in the store. Or remove a light switch plate and take a chip of paint to the store. They can match it. Most hardware stores do this free. I did not know this until after I bought the wrong sample. Now you know.
Will the crack come back?
Maybe. If the wall is settling, the crack will return. Spackle is cosmetic, not structural. I check Gerald’s grave every few months. So far, quiet. But I keep the leftover spackle in the closet. Just in case.
Do I need to prime before painting the patch?
For a hairline crack, no. The spackle is paintable. For larger patches, yes. Primer seals the spackle so the paint does not absorb differently. My patch was three inches. I skipped primer. It looks fine. If your patch is bigger than a credit card, use primer.
What if the crack is in the ceiling?
Ceiling cracks are harder because gravity works against you. Spackle falls out before it dries. Use a thicker joint compound. Apply in thin layers. Wait longer between coats. And use a drop cloth. Ceiling debris in your eyes is not fun. I have not done this. I am just warning you based on common sense and physics.
Closing Thought
The inspection happened. The landlord walked in. Looked at the wall. Did not mention it. Because it was not there anymore. Not to the eye. Not to someone who sees a hundred apartments a year.
I got my full deposit back six months later. Gerald was never spoken of.
Five dollars. Two hours. One small victory against entropy.
Fix the crack. It is easier than you think. And way easier than explaining it.
Sources and References
- U.S. Environmental Protection Agency (EPA) — Lead paint safety guidelines for homes built before 1978, including warnings against sanding or disturbing lead-based paint.
- U.S. Consumer Product Safety Commission (CPSC) — Home safety information regarding household repairs and chemical product usage.
- Penn State Extension — Practical guidance on drywall repair techniques, tool selection, and paint matching for residential maintenance.

Hamza Farooq is a home improvement and organization writer who shares practical advice on cleaning, simple DIY fixes, and smart home organization. He focuses on creating easy-to-follow guides that help readers solve everyday household problems with realistic, affordable solutions. His goal is to make home maintenance simpler, more efficient, and accessible for anyone looking to improve their living space.